A couple weeks ago we celebrated our little girl’s second birthday! My husband and I believe, that throwing a big party is not necessary until the child’s 5th birthday. Before that age the child will not remember and appreciate the parents big afford, but to do something small and nice is very affordable and will be stored in the parent’s memory.
Choose a Theme
I think it’s very easy to come up with a lot of ideas, when you know the party theme based on your child’s interest.
For Mia’s second birthday we choose a Tinkerbell theme because lately she has been interested in Tinkerbell movies. Then I picked the theme colors: the main color was light green and supporting colors were yellow, blue, white, pink and orange.
The next thing I did, I made a list of everything that should be done. The list includes:
Invitation
Decorations (goodie bags, a wall decoration, table cloths, plates, spoons, forks, napkins, flowers and vase)
Birthday Cake
Food Menu
Birthday Girl Dress
I recommend starting with the list about 2-3 weeks before the date of the party. That way you will not be stressed out about doing everything in one night))
Well, now I will show how I did everything and more, I will leave printable templates in case anyone needs.
Invitation
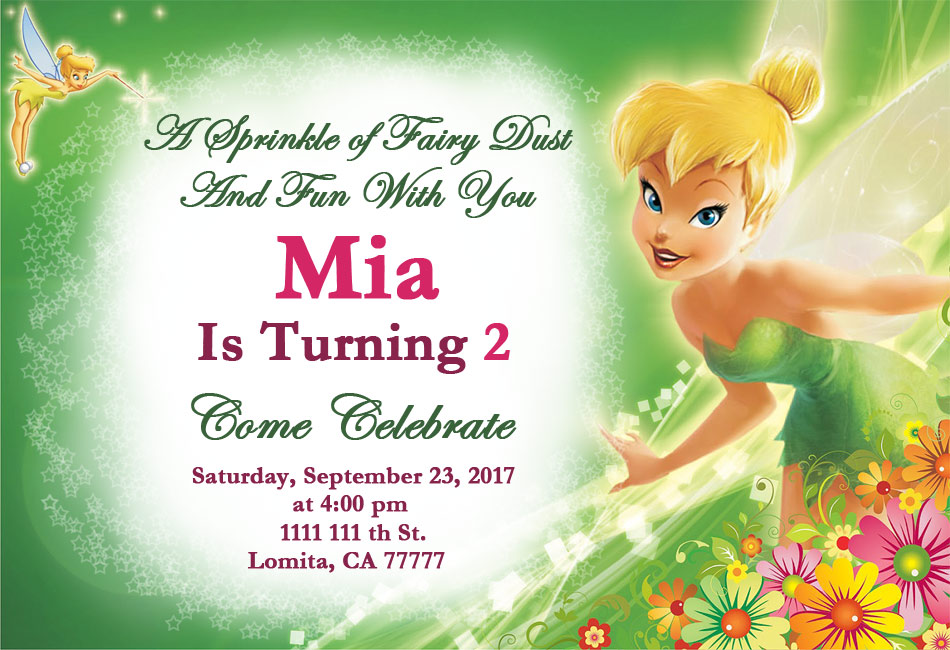
To make an invitation, you have two options:
- Go to the closest print shop or do it online with one of the many companies that offer that service. It will take you time and will cost you some money.
- Or, you can use my ready template and put your information with your hand writing or you can use a Paint program on your computer (click the right mouse button on the template below and choose “Save image as…”, save it in your computer. Than open the image of the invitation in the Paint program and fill the openings with your information. Save it as GPG file). Then you can print it at home using the same program or any other program that you like and save money on printing and design.
Decorations
I really didn’t want to spend a lot of money on the decorations. So, I went to a 99c store and bought all the basic supplies: table cloths, plates, spoons, forks, napkins, two vases, white goodie bags (package of 10, to decorate them myself), curly ribbon, streamers (to make the wall decoration). The whole purchase was less than $20.
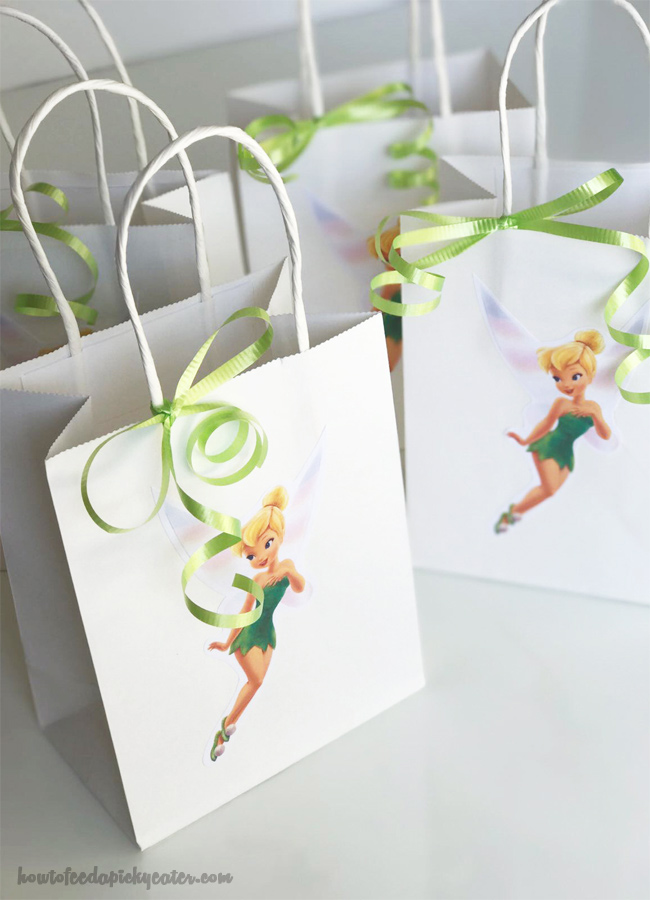
The goodie bags.
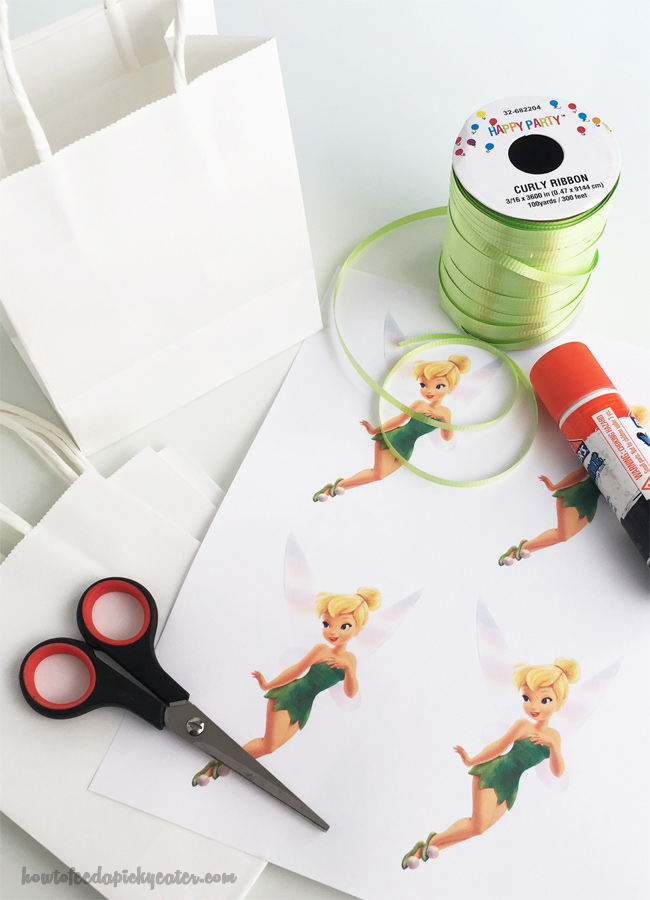
To make Tinkerbell DIY goodie bags I needed a printed picture of Tinkerbell, scissors, a glue stick and curly ribbon.
So, I got the white goodie bags at the store. Then I found a picture of Tinkerbell and printed it. I cut out the image and glued it on one side of the white goodie bag. Then I tied the ribbon to the handle of the bag and with the help of scissors twisted the ends. It took me maybe an hour to do all the goodie bags.
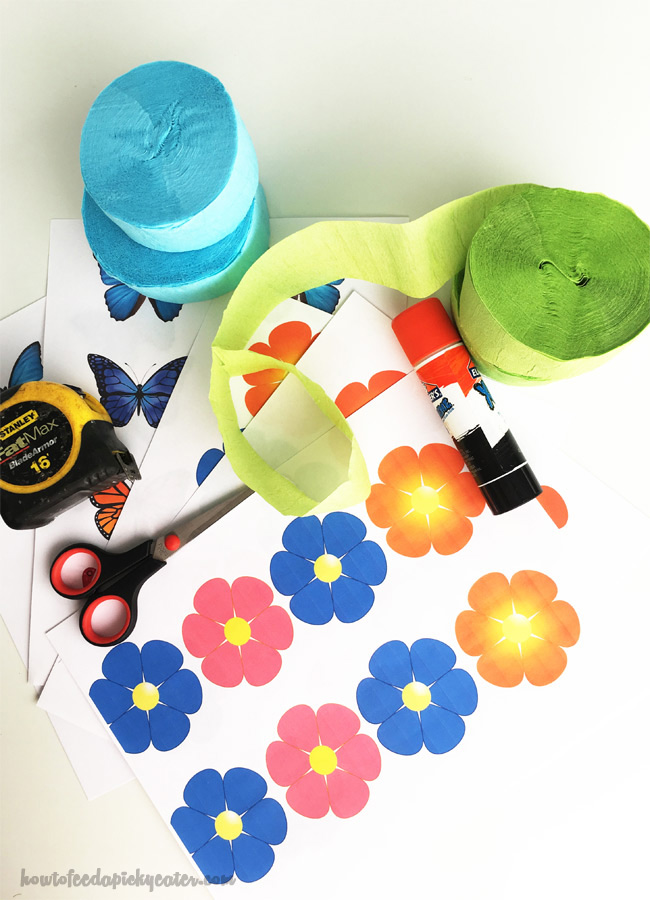
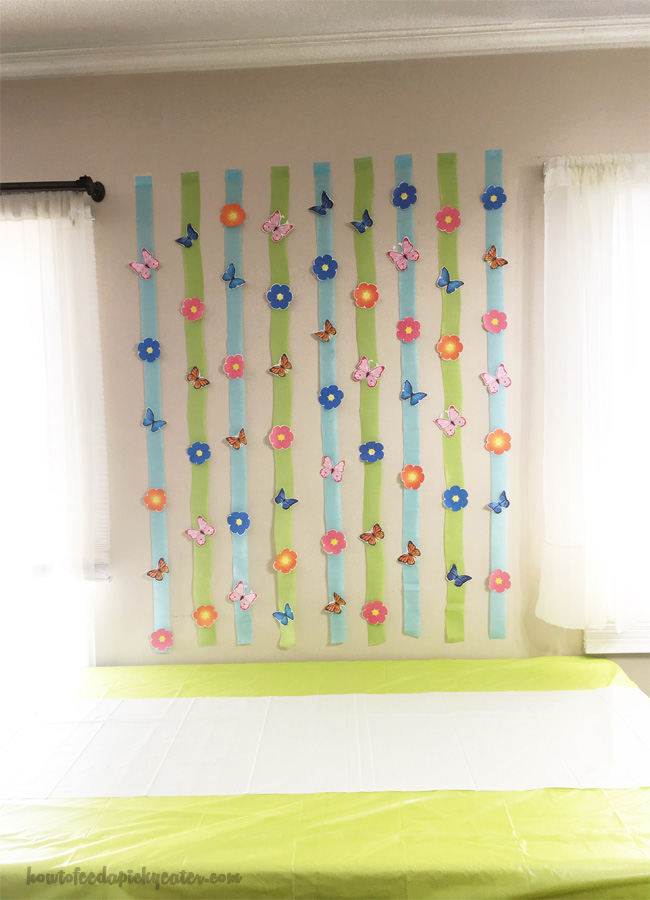
To create the wall decoration, I needed green and blue streamers, scissors, a glue stick, a measuring tape, printed pictures of flowers and butterflies, help of my son and a little bit more time)))
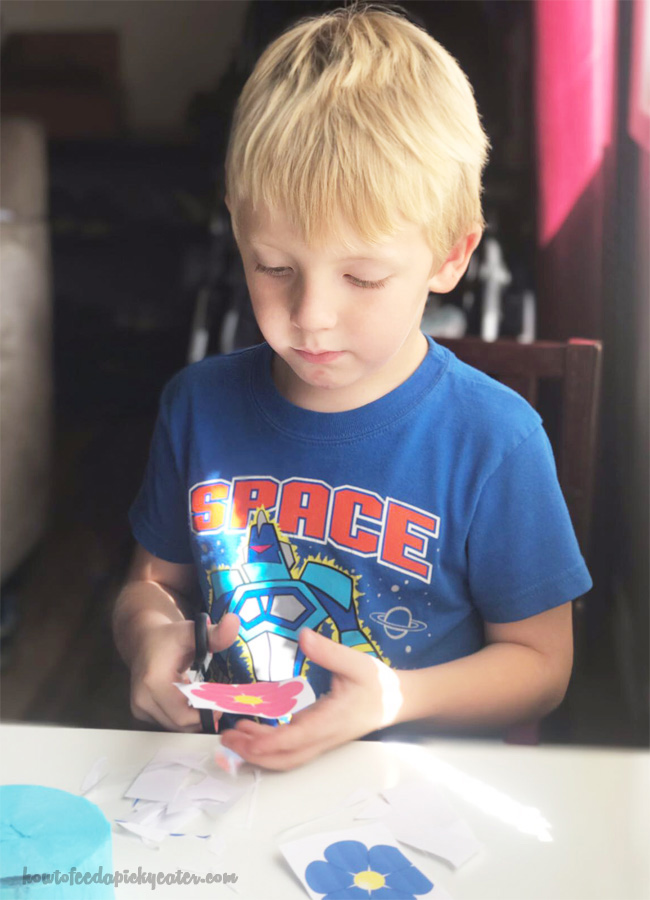
My son helped me cut out the printable flowers and butterflies. We spend a wonderful time together by doing this!
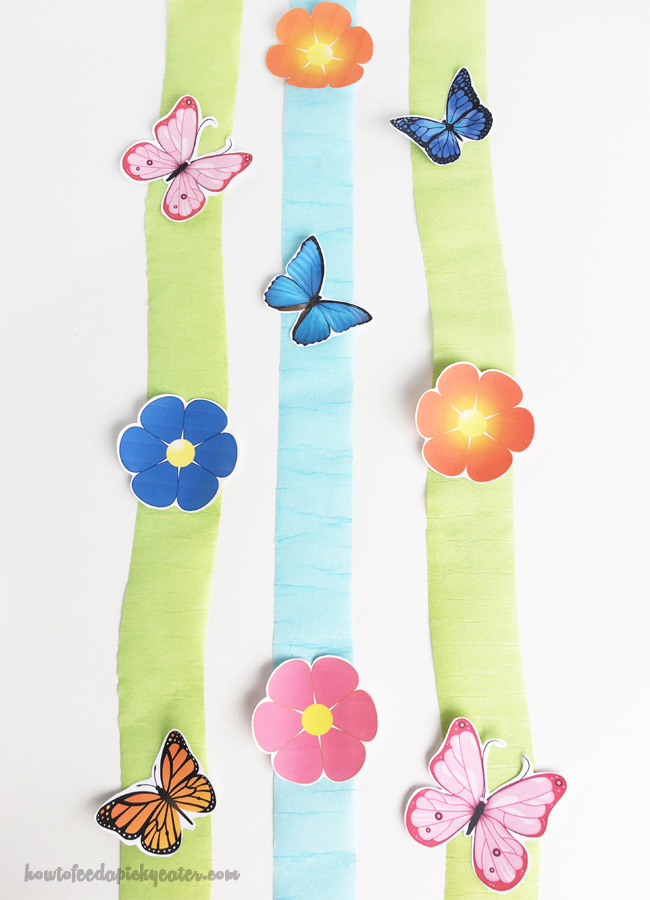
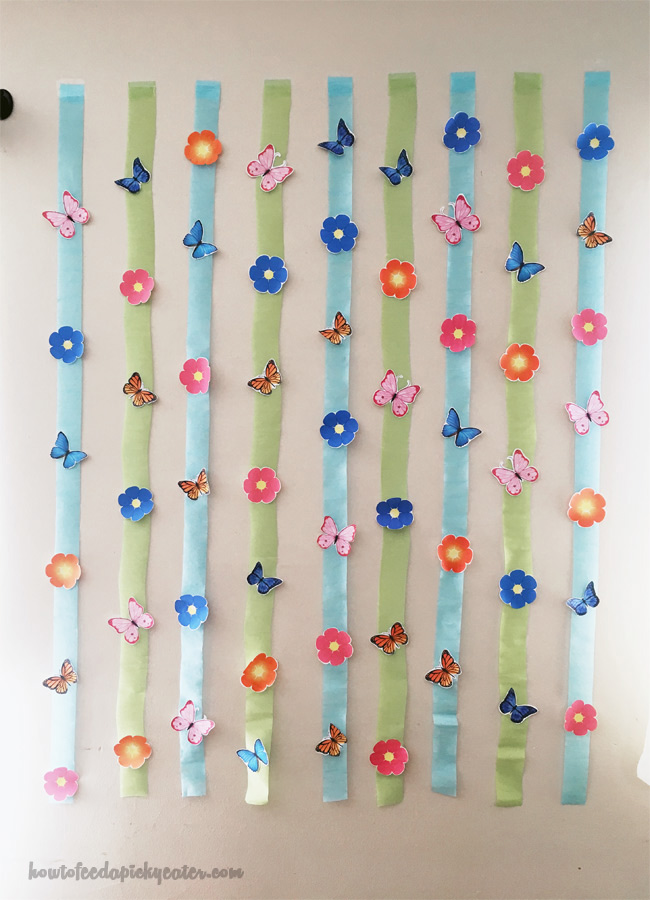
The whole idea of the wall decoration was strips of ribbon with glued flowers and butterflies on them. So, I measured the length of the wall and cut off the desired length of the streamers. I decided to alternate the green and blue streamers. Then, on each strip I glued three flowers and three butterflies alternating flower and butterfly.
For our wall we made nine strips total. I stuck every strip on the wall with a piece of adhesive tape. It turned out into very gentle and beautiful background which is still on our wall do to the beauty it brings to our house.
The table decorations
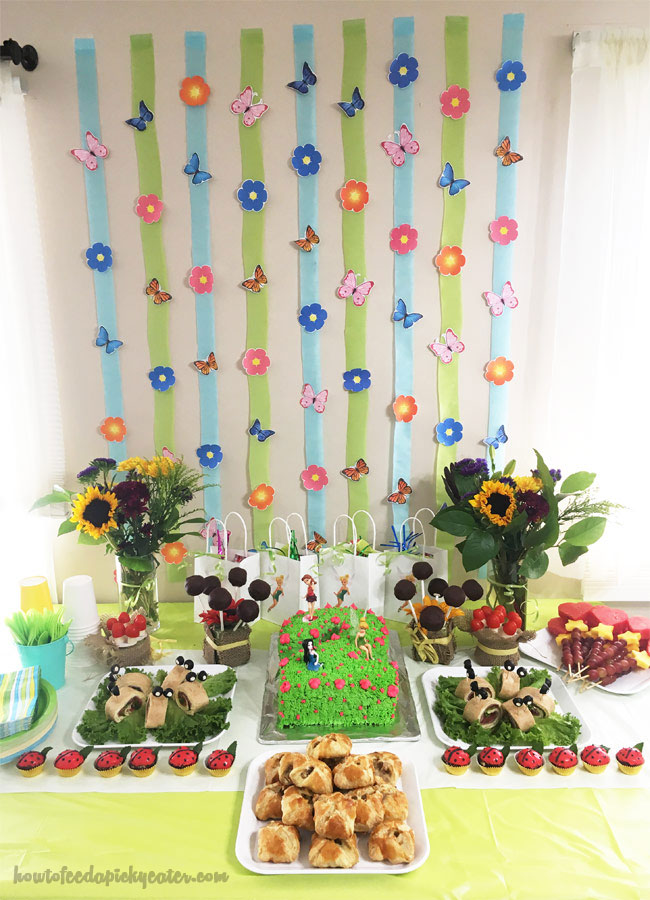
To decorate the table, I used two different color table cloths: a light green and a white. The green table cloth was covering the whole table surface and the white one I folded to a 20-inch strip and placed it on top of the green cloth in the middle of the table.
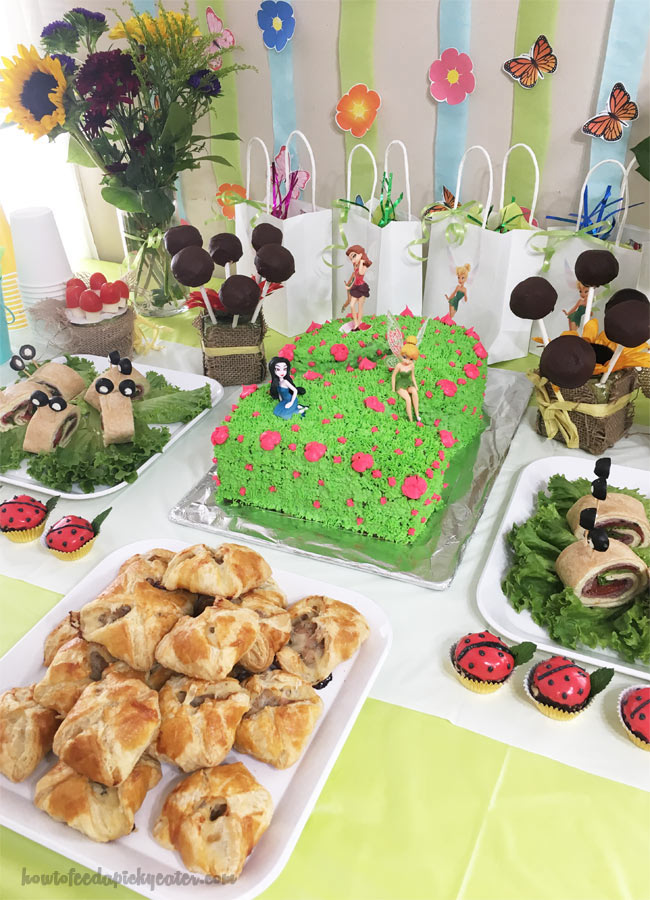
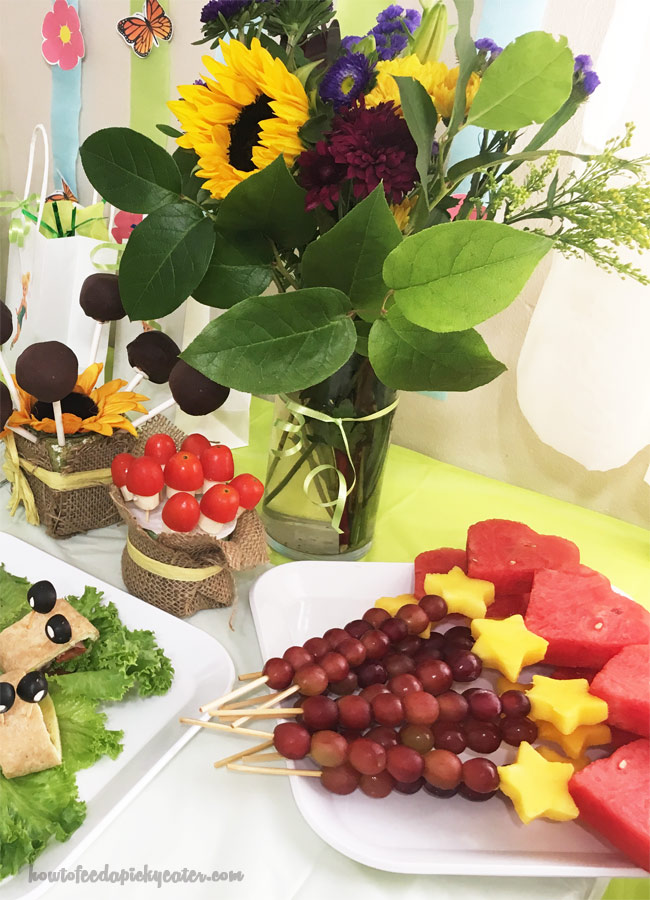
After deciding on the menu, I made a sketch of the table for myself. That way I knew exactly where things will stand. Part of the table decoration were two vases with flowers, which I placed on each side of the birthday cake. I bought a bouquet of flowers that I liked and divided the flowers to two vases. Every vase I tied with a green ribbon which ends I twisted with the scissors.
The Birthday Cake
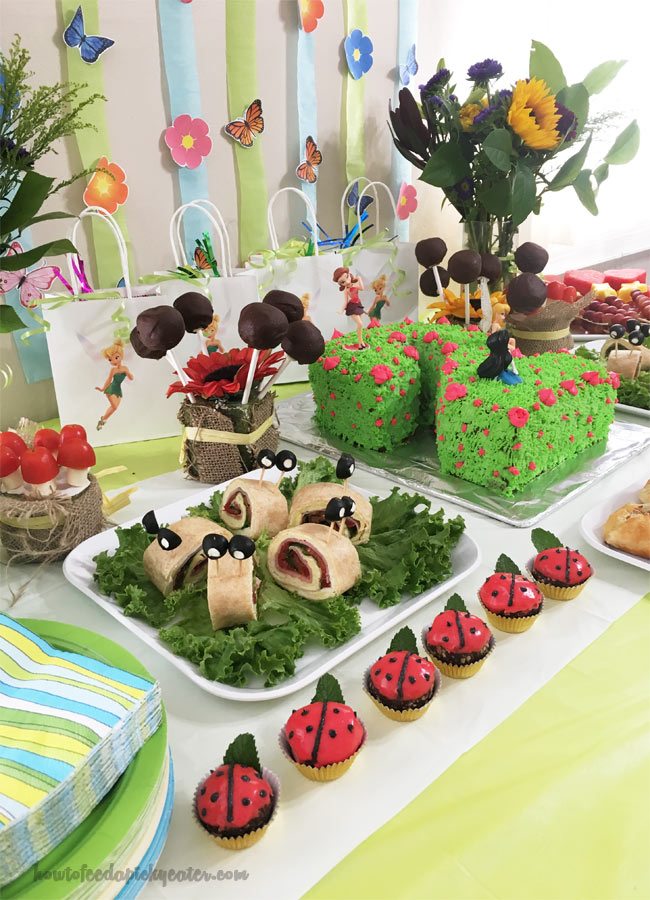
It wasn’t a big party, but I sure baked a big cake! I think, a birthday cake is the center of the party table and the Tinkerbell birthday cake was definitely that!
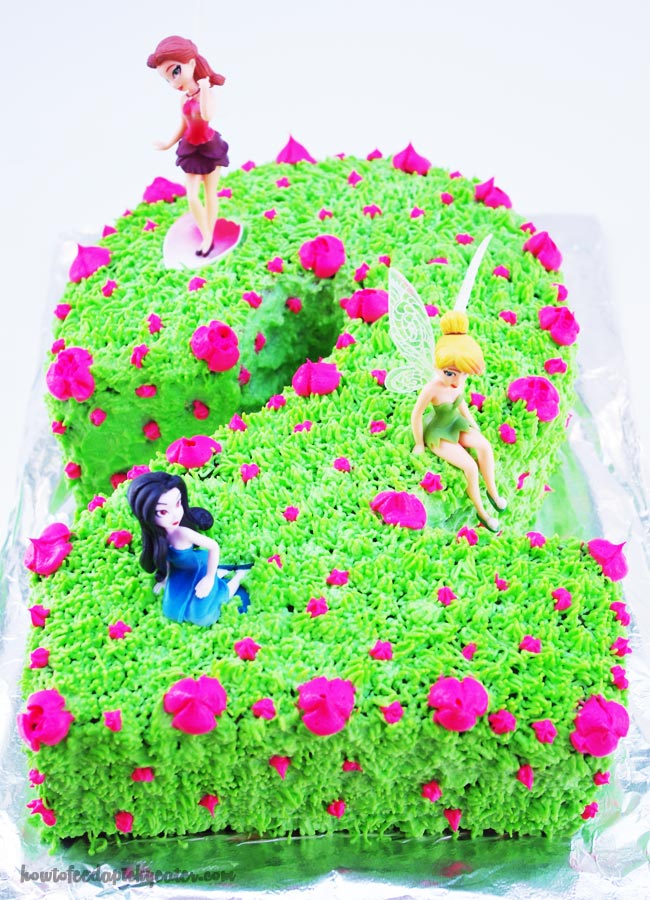
I may have gone too far by baking three different layers of cake, but I’m really glad that I prepared it in the form of a number two.
To decorate the cake, I used my deluxe cake icing and decorating set, the grass tip and I bought some super cute figures of Tinkerbell and her girlfriend.
You can use my recipe for the cake or use a box mix cake from a store and just print the templat for figure two that you can find here.
Food Menu
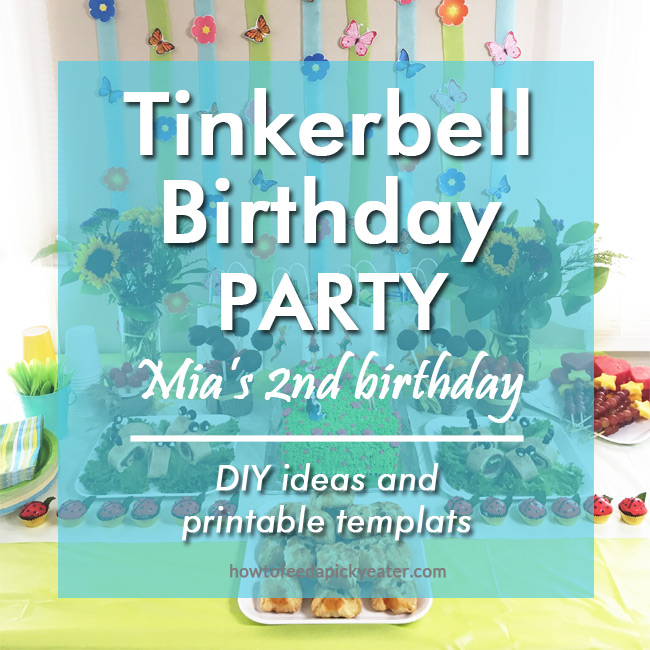
Because we decided to do a small party for Mia’s second birthday, no heavy food was on the menu. It was a tea party with big a Tinkerbell Birthday Cake and a few snacks. I made the Snail Sandwiches, the Puff Pastry Chicken Envelopes, the Homemade Ladybugs Candy, the Leftover Cake Pops, the Cherry Tomatoes and Mozzarella Cheese Mushrooms and the Fruits on the Stick.
I must tell you, that after decorating the table with all components, it turned out a gorgeous table!
Birthday Girl Dress
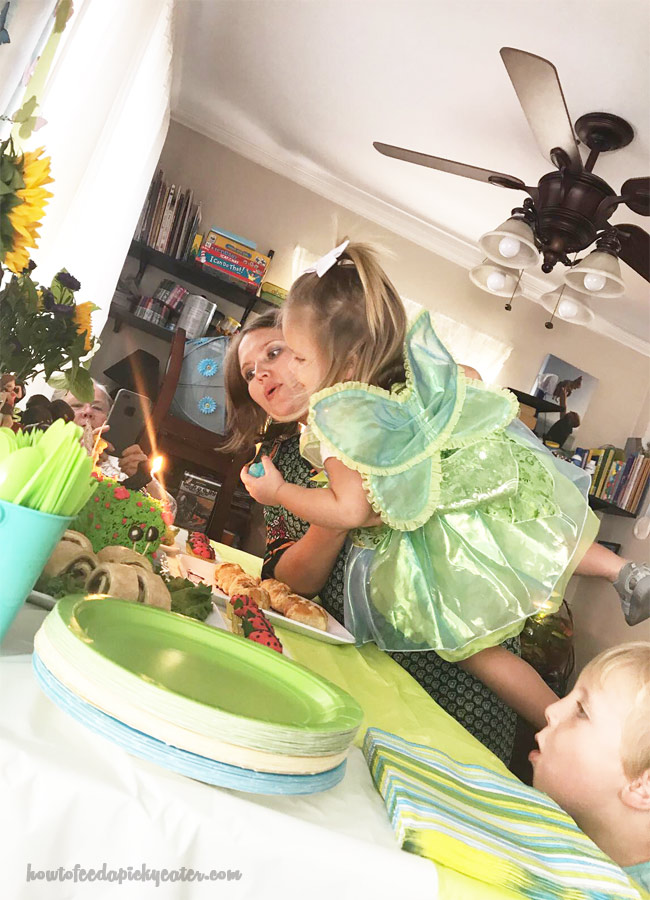
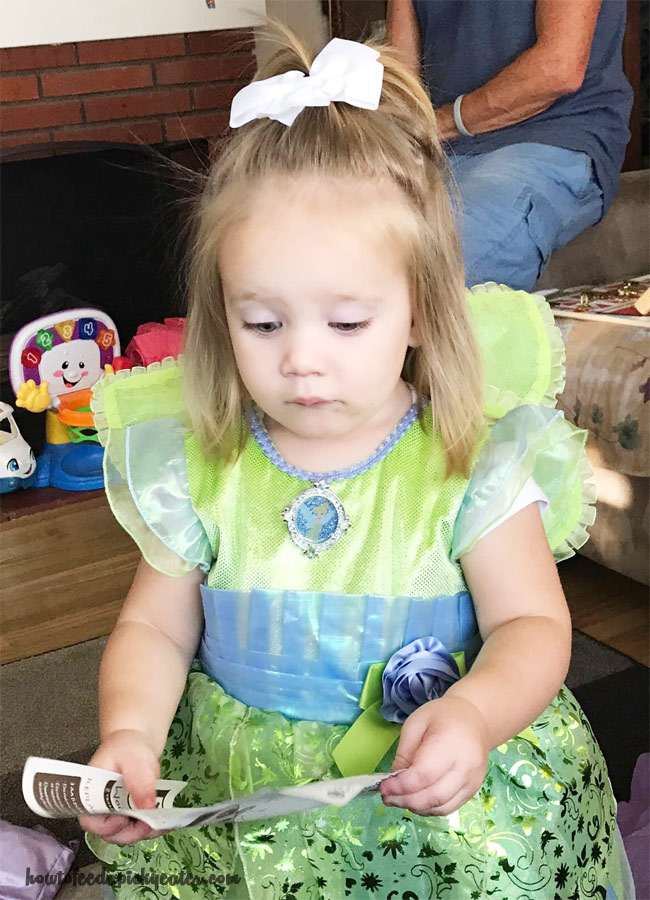
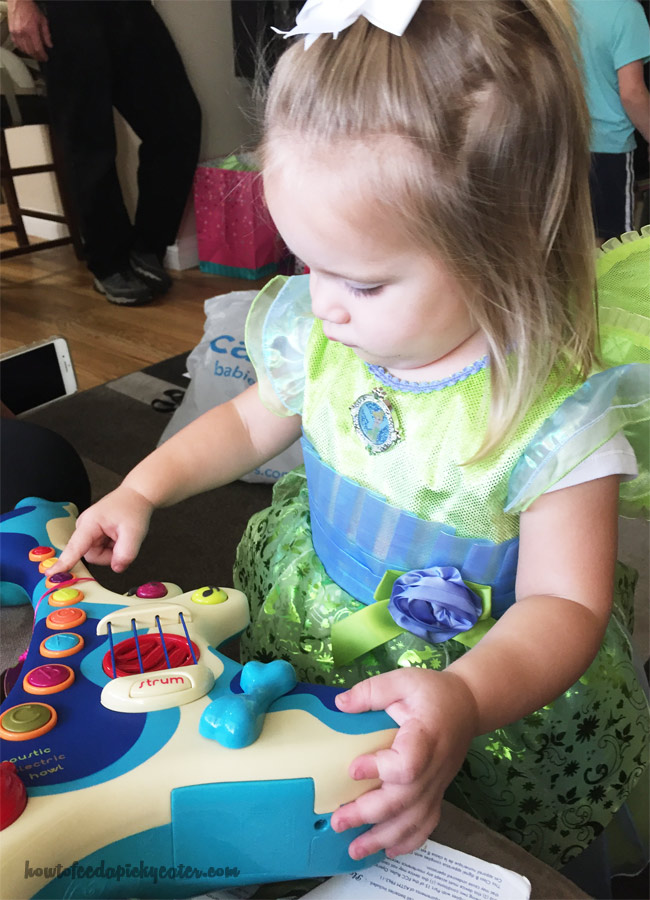
Mia’s birthday dress we found on amazon.com. She was the cutes Tinkerbell ever!!! You may not agree with me, but it is my little girl that turned two and we had a great birthday party!
Love you, my sunshine!


Leave a Reply